Tuesday, March 8, 2011

{Real Parties} Elegant Pink Baby Shower

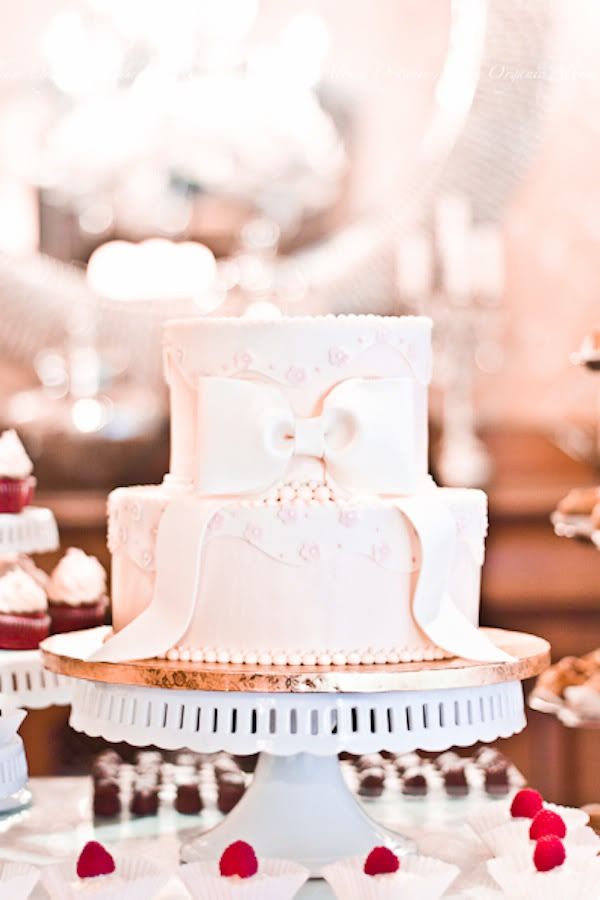
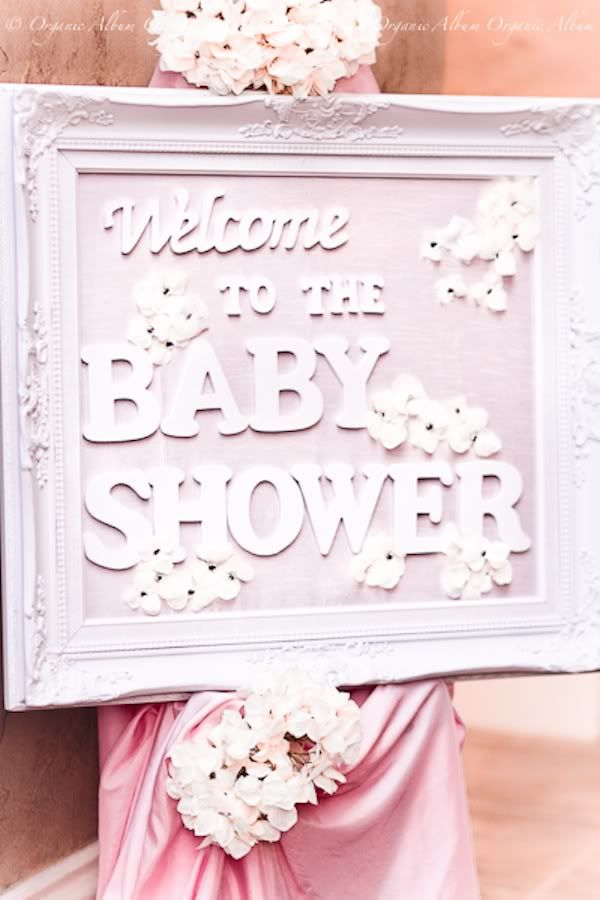
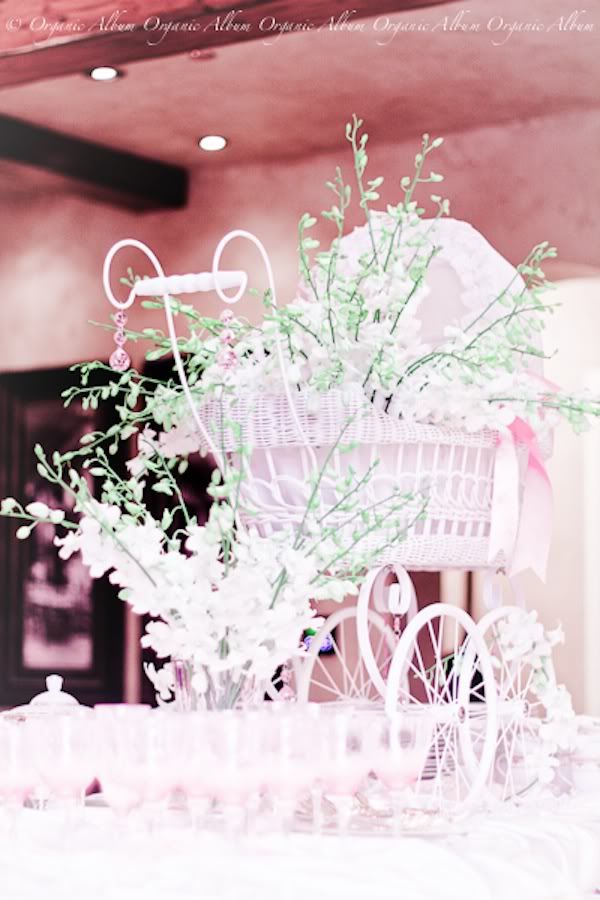
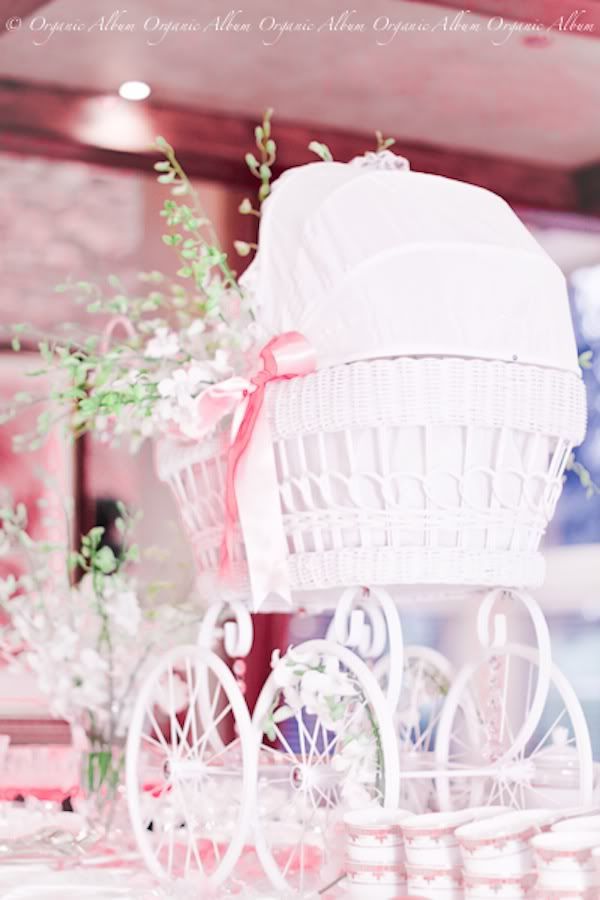
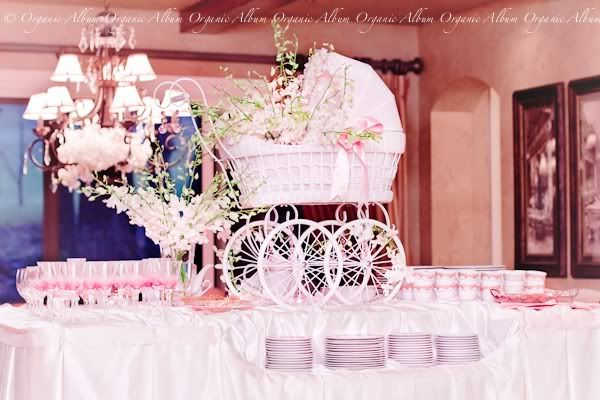
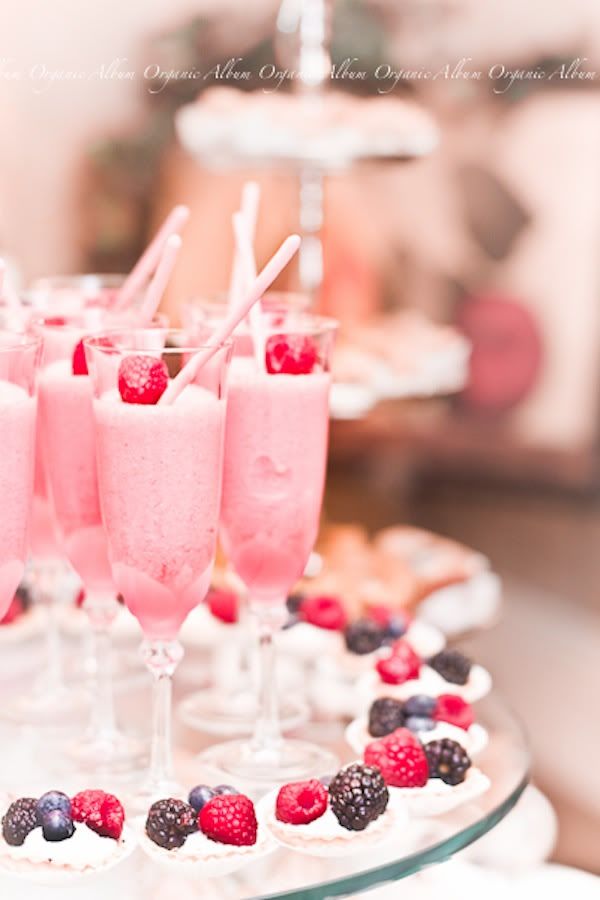
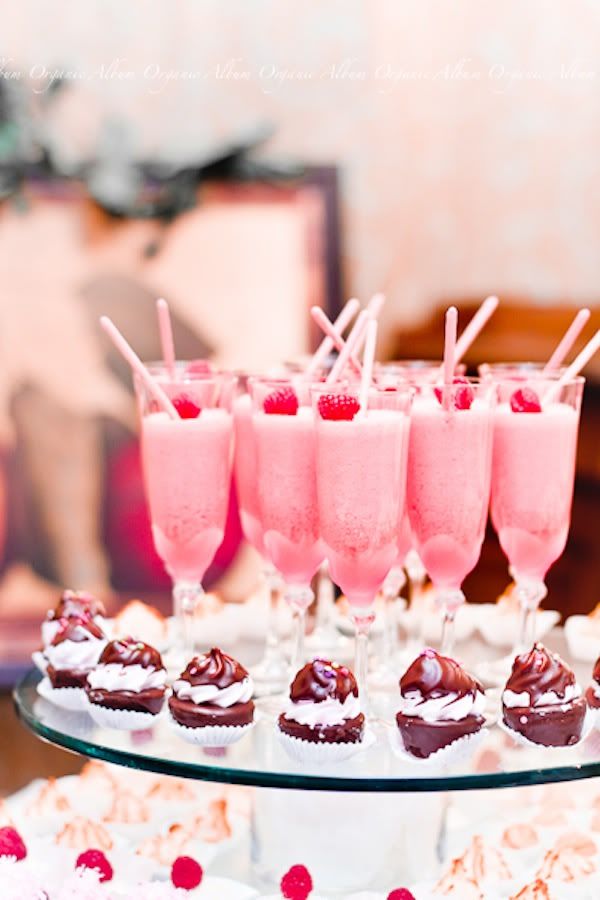
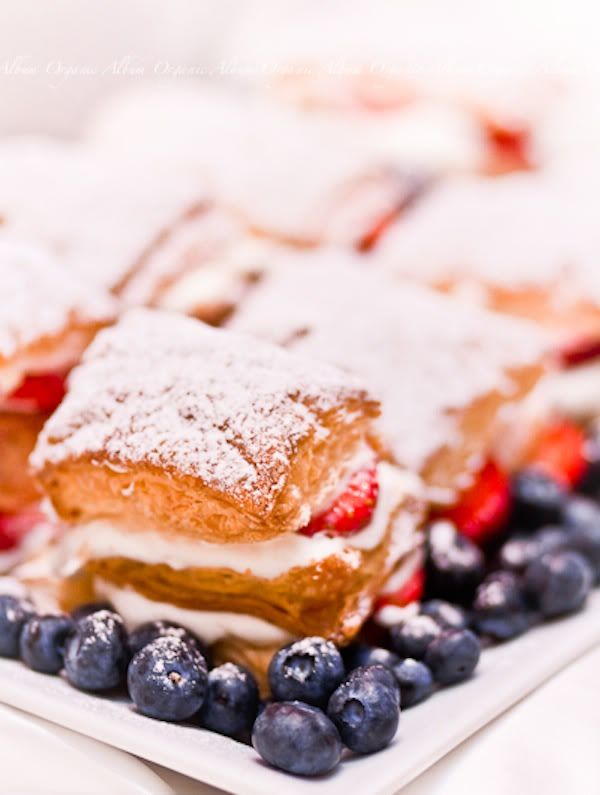
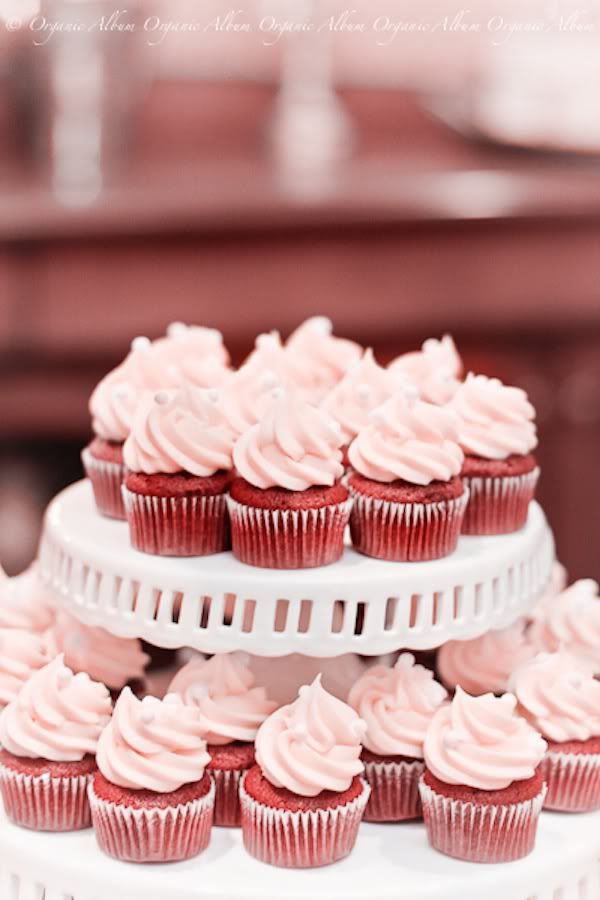
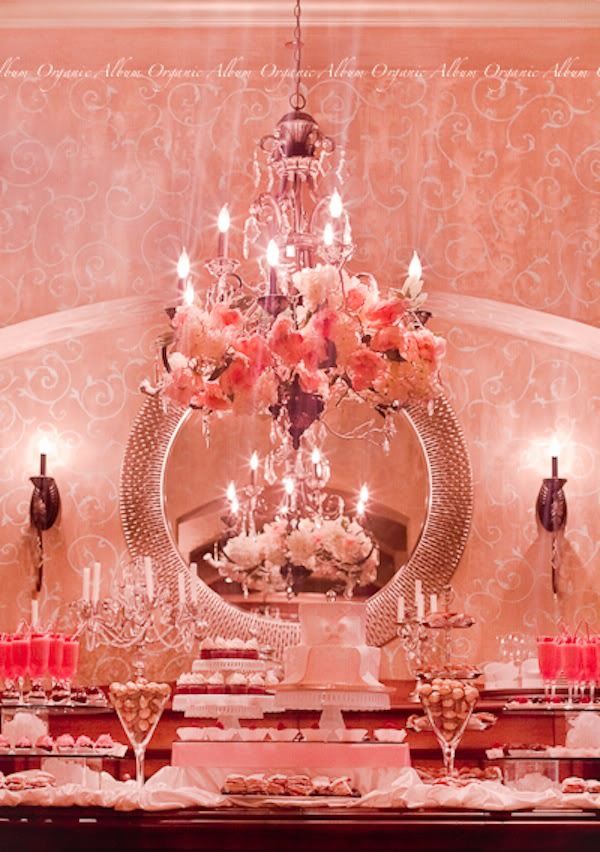
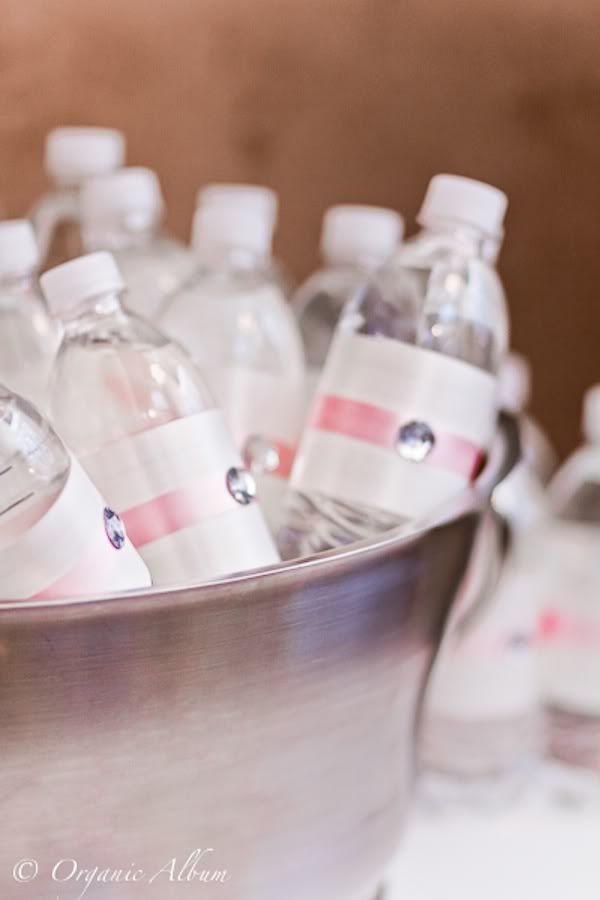
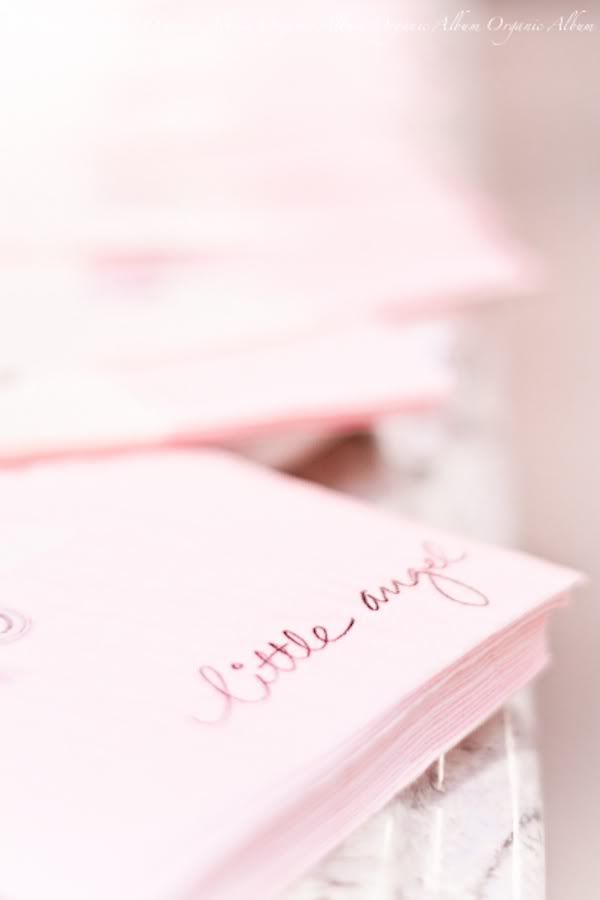
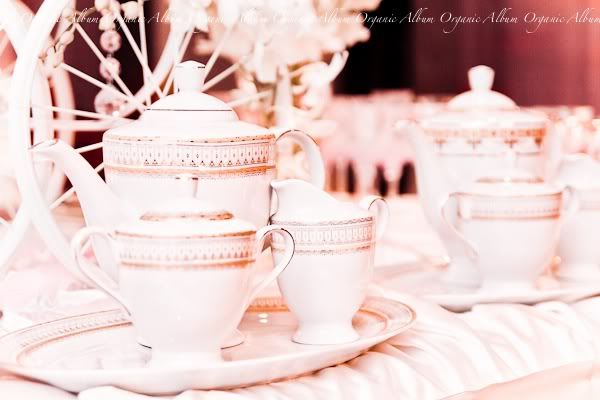
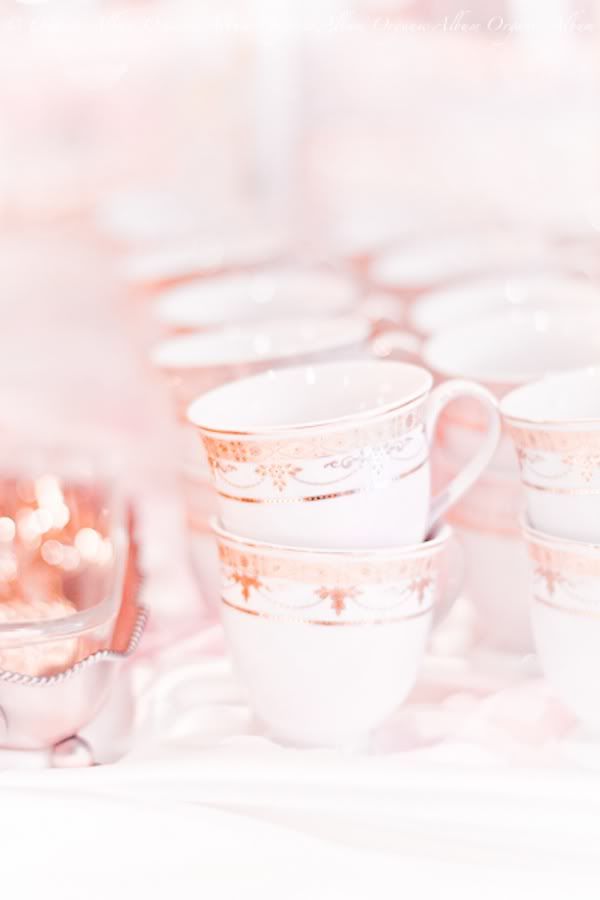
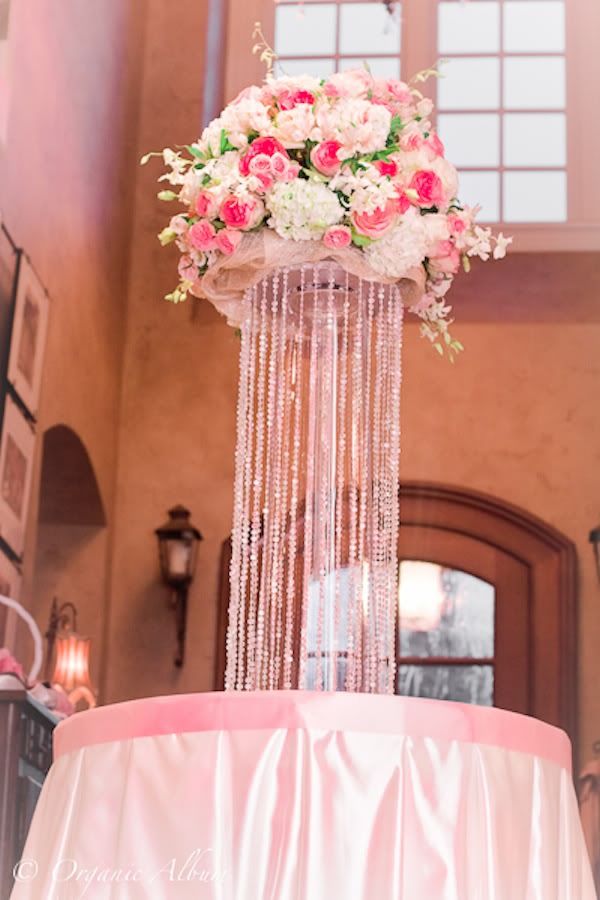
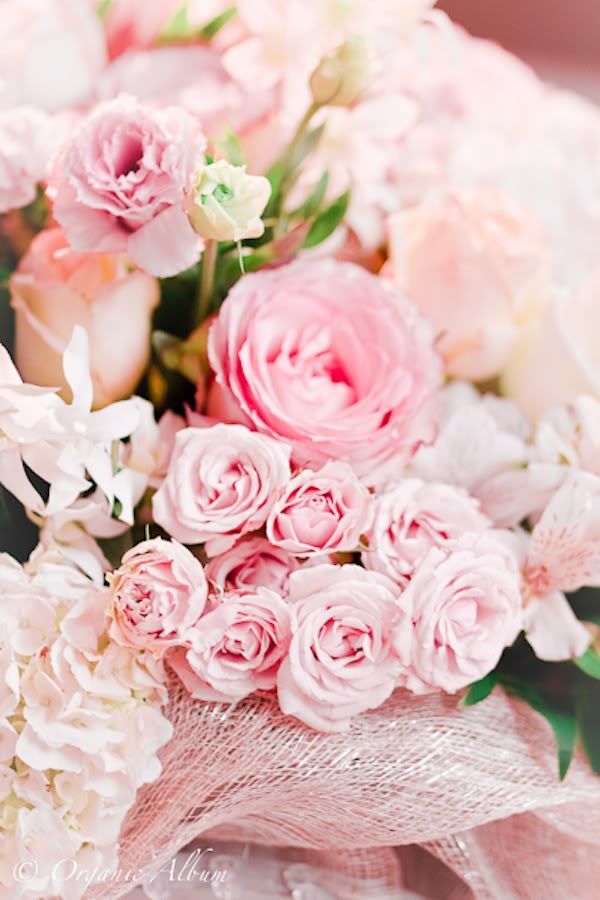
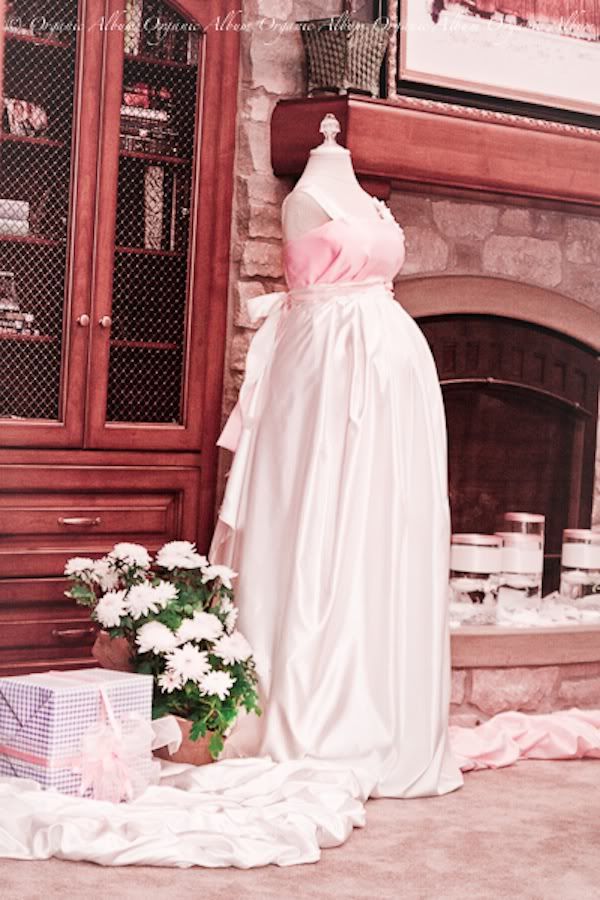
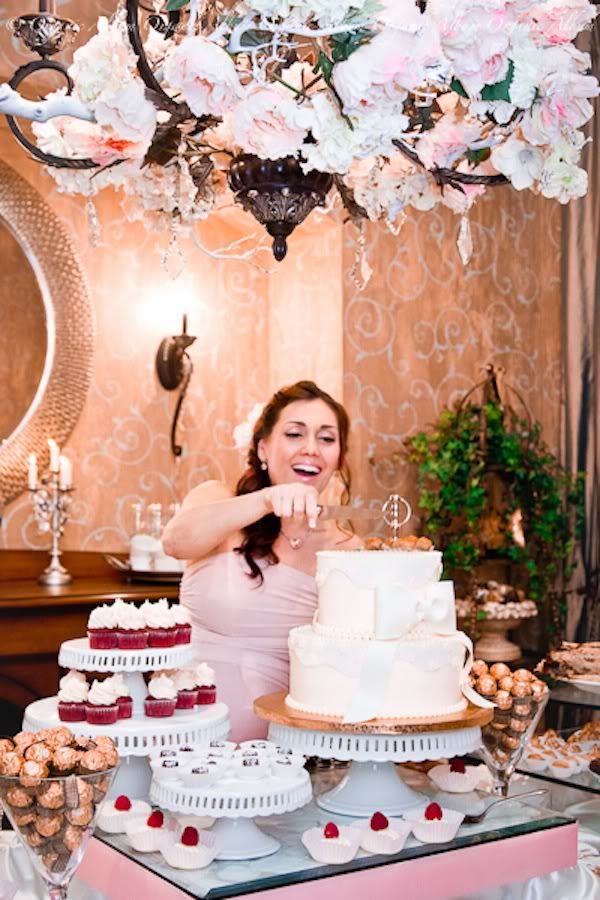
I get slightly giddy when events like this land in my in box. Darya of Organic Album did an amazing job photographing one of the loveliest baby showers I have ever seen! Enjoy the gorgeous photographs of this white, cream and baby pink shower with vendor details listed at the bottom....

Photobucket

Photobucket

Photobucket

Photobucket

Photobucket

Photobucket

Photobucket

Photobucket

Photobucket

Photobucket

Photobucket

Photobucket

Photobucket

Photobucket

Photobucket

Photobucket

Photobucket

Photobucket

Vendors:

Photography - Organic Album
Decor - Luxury Events
Flowers - Oksana's Flowers
Desserts - New Seasons Market
Cake - Jecalvas


Friday, March 4, 2011

{Real Parties} POP Baby Shower

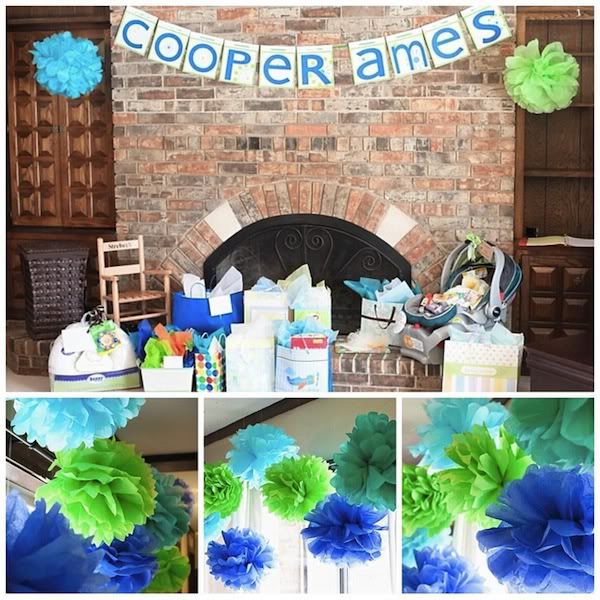
Here is another creative baby shower by one of the ladies from Lullaby Lubbock! {Do you remember the adorable princess party I showed last week?!} Allison and the hostesses went with a "Pop" theme and the shower turned out amazing!

Photobucket

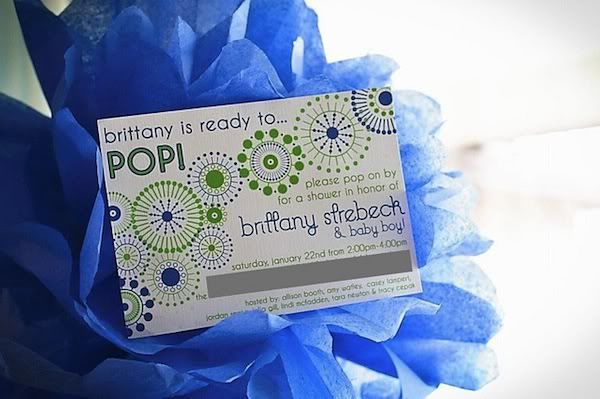
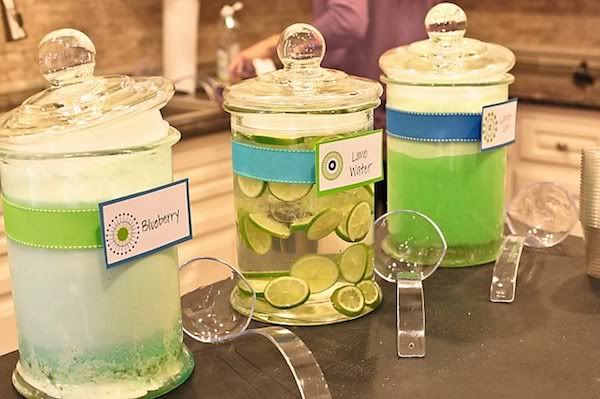
Allison is lucky to be friends with Jordan of Kojo Designs who happened to be a hostess as well! Jordan whipped up a whimsical invitation and other coordinating paper goods such as the signs, labels and banners. She even taught the girls how to make pom pom balls which they hung throughout the party space.

Photobucket

Photobucket

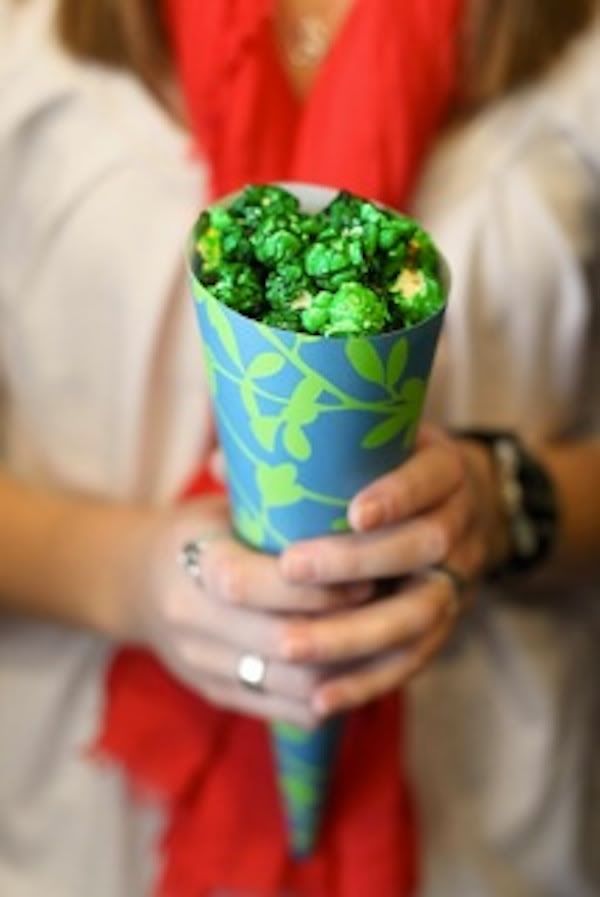
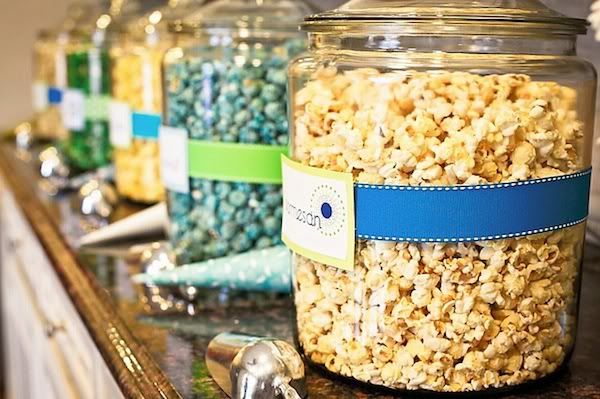
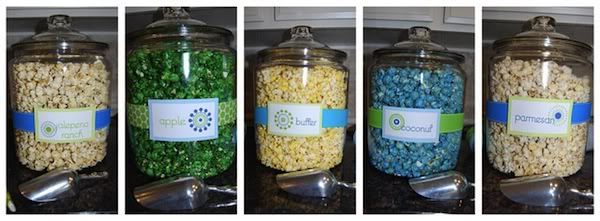
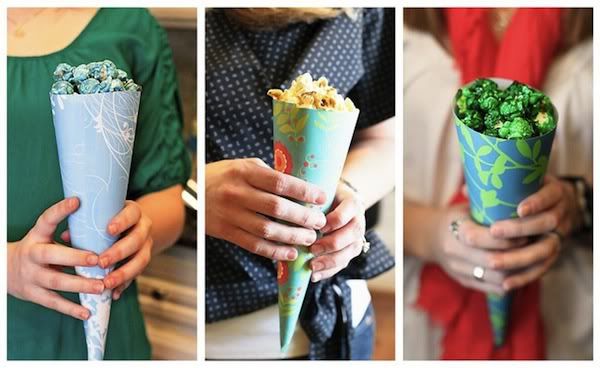
The POPcorn bar was amazing! Allison ordered numerous flavors from Candy Corns in Dallas. They have every flavor and color of popcorn that you can imagine! They served Jalepeno Ranch, Apple, Butter, Coconut and Parmesan!
Photobucket
The hostesses made cones out of cardstock to hold the popcorn. This was such a fun detail!
Photobucket
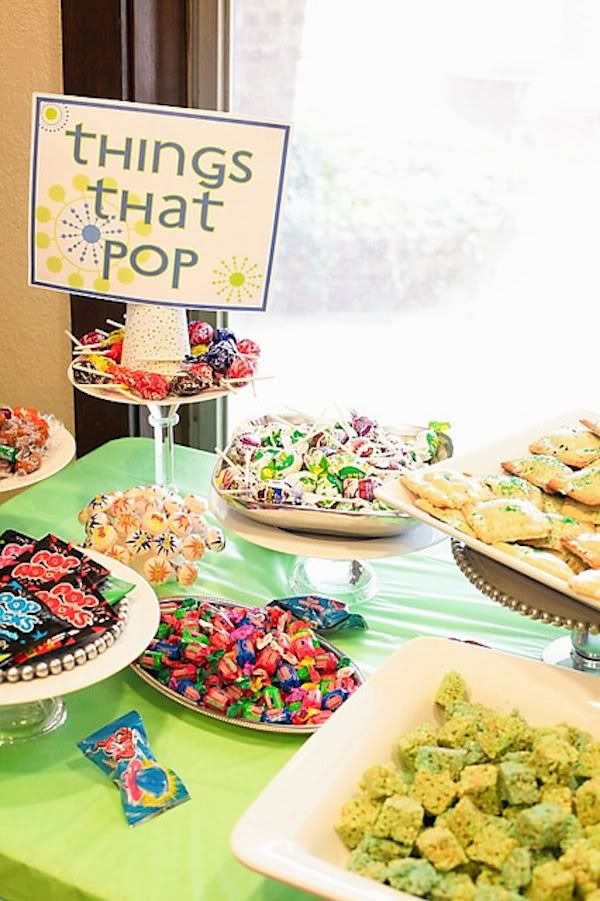
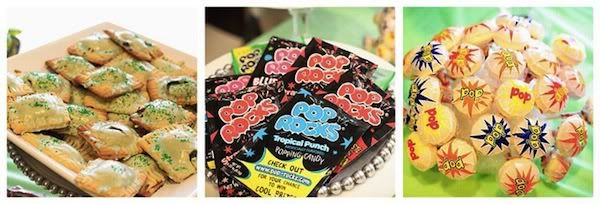
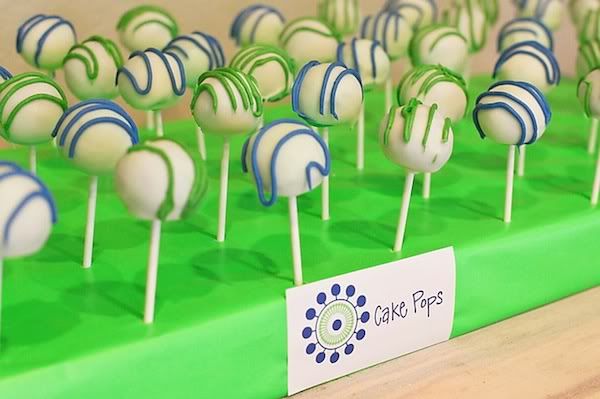
All of the food consisted of things that POP...mini pop tarts, cake pops, pop rocks, blow pops, jalepeno poppers, rice krispy treats and so on. Absolutely love this idea!

Photobucket

Photobucket

Photobucket

Photobucket

Photobucket

I think it's always tricky to come up with an original sign in idea. I love what the girls came up with! Each card had something different written on them and the guests were asked to fill in the blank. "I hope you love...", "I hope you are not afraid of...", "I hope you laugh...".

Photobucket

As always, Allison and her creative group of friends put together an amazing party with thought out details and so many creative touches! I love reading Lullaby Lubbock and hearing about their creative endeavors and I know you will too!


Wednesday, March 2, 2011

Happy Birthday Texas - An Ode to Texas Pecan Pies!

In honor of Texas Independence Day and my never ending sweet tooth, I wanted to share with you my top 3 Texas pecan pies that everyone can easily enjoy!

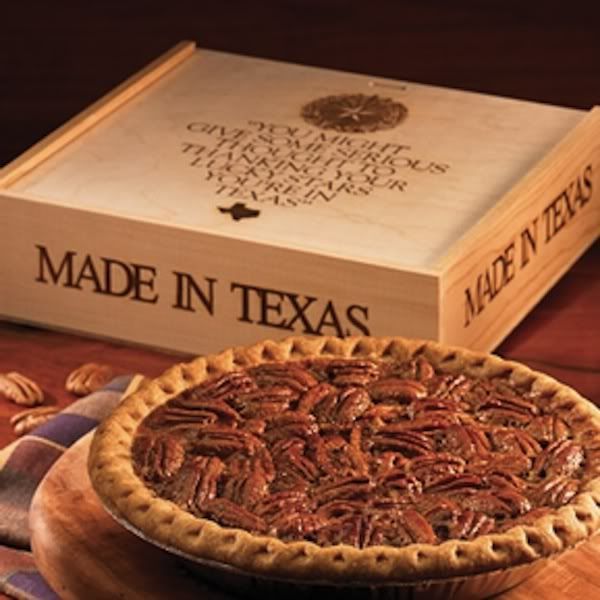
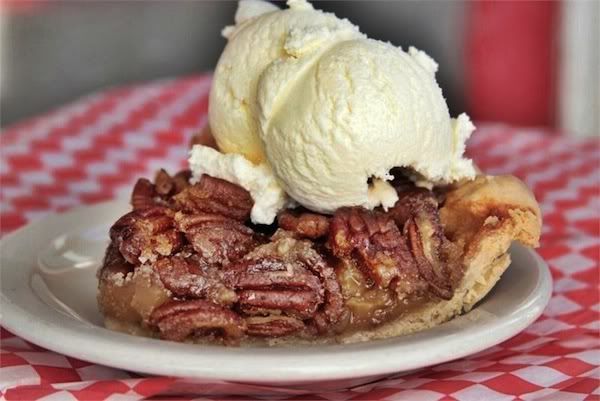
Goode Co. BBQ is very popular in Houston and their pecan pies are infamous. You should see the line out the door during Thanksgiving week! The pies are dark, sweet and delicious and you can order them online! They arrive at your doorstep in a sturdy wooden box, perfectly wrapped for freshness. The pies are $31.95 and make great gifts! I send them to friends throughout the year.

Photobucket

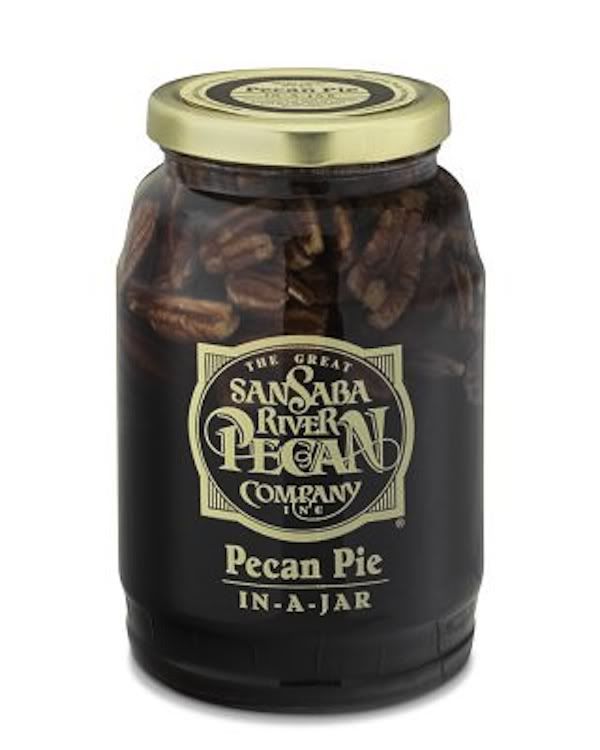
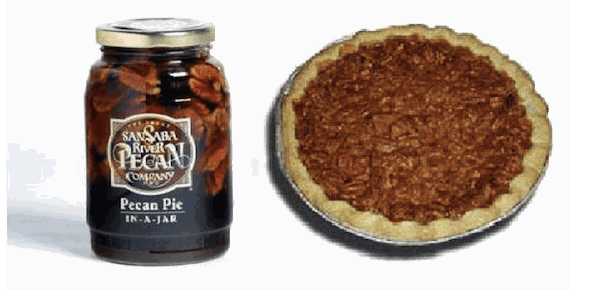
Next up is the San Saba Pecan Pie in a Jar. Yes, you read that correctly and it truly is that easy! All you need to do is add eggs and provide the pie crust and you have a delicious pie! Their Chocolate Chip Pecan Pie is to die for as well! You can order the jars directly from San Saba or order online from William Sonoma. They are currently on sale at William Sonoma for $14.99! Their preserves are equally as tasty and are amazing smothered over pork tenderloin or to top off your ice cream!

Photobucket

Photobucket

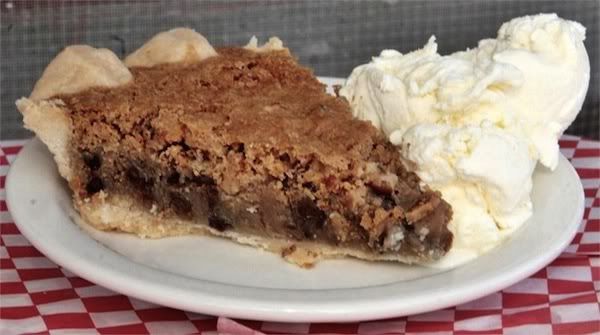
I can't say enough good things about the pies from Royer's Roundtop Cafe. Their pies are UH.MAZING! And the good news is that you can order them online as well! Their Pecan Pie is a restaurant favorite and I am obsessed with their Chocolate Chip Pie! They like to say that the pecan pie is "not too sweet and does not have that karo flavor".

Photobucket

Mmmm....Royer's Chocolate Chip Pie! I served these in the mini version at my birthday dinner last year!

Photobucket


Tuesday, March 1, 2011

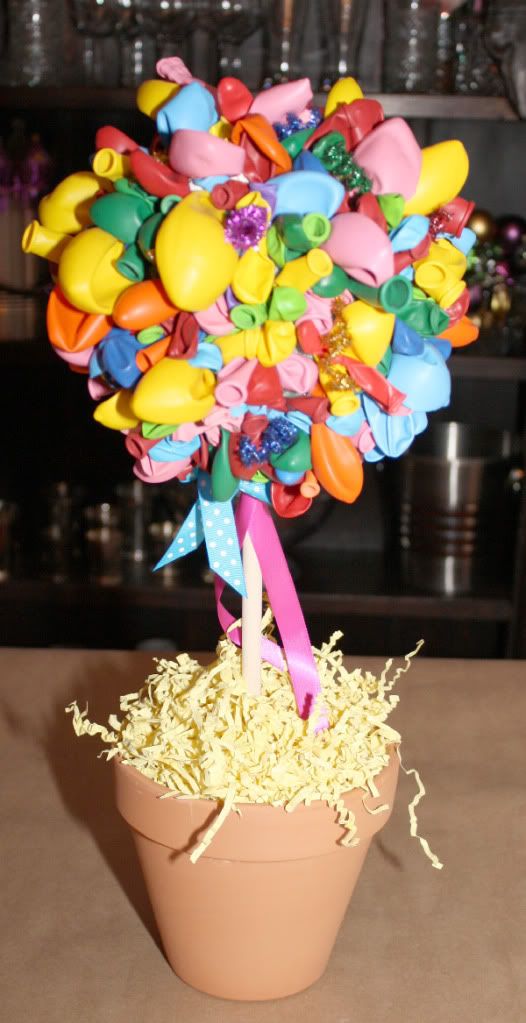
Balloon Topiary Tutorial

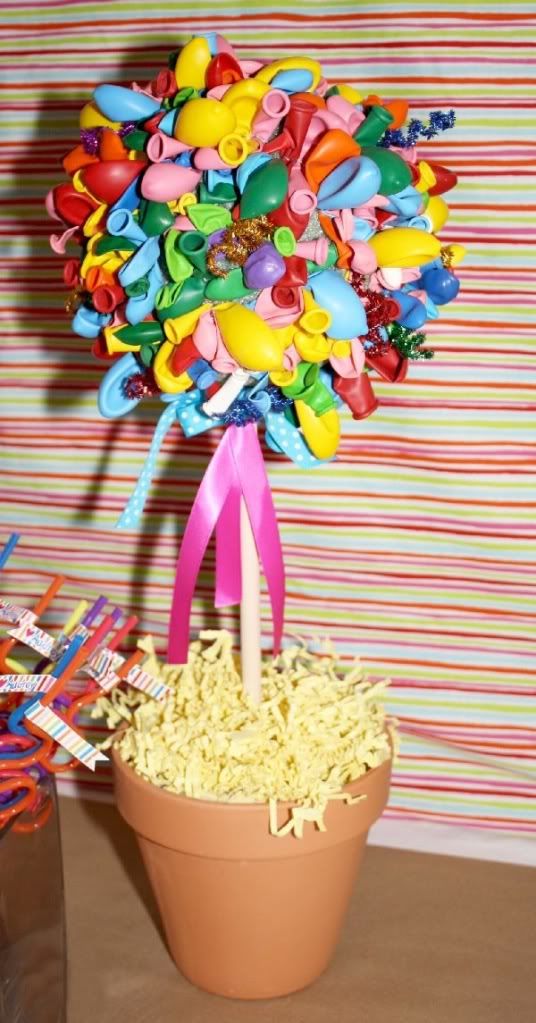
I hope you enjoyed Audrey's Art Party as much as I did! I love all of the color found in the decor of an art party...so cheerful! Emily Welch of Magnolia Creative is here today to share the how-to on the balloon topiary found at the party!

Step by step instructions as told by Emily...

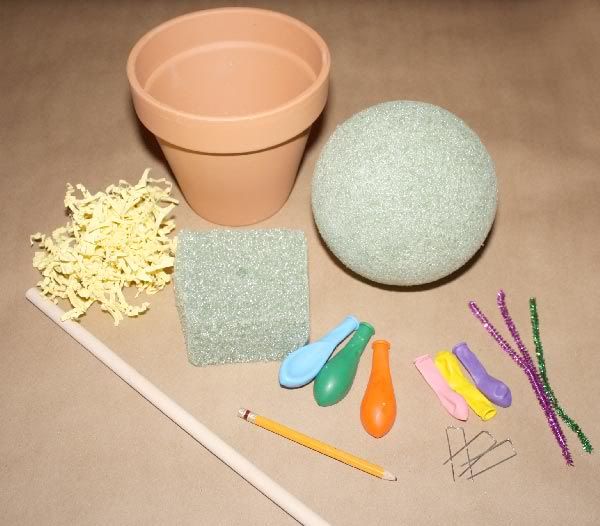
Supplies:

One 6" Terracotta pot or some other container
One Styrofoam block (cut to fit inside the container)
One 5" Styrofoam ball
One 18"
wooden dowel (mine was longer and I had my husband cut it down to this size)
Two packs of greening pins. You really use about 1.5 packs but it's better to have more and not need them than be short.
2 packs of small (around 2.25") multi colored balloons (around 72 qty)
2 packs of larger (around 3") multi colored balloons (around 72 qty)
1 pack of
pipe cleaners cut in half
1 pack of
shredded tissue paper
Pencil

Photobucket

Step 1:

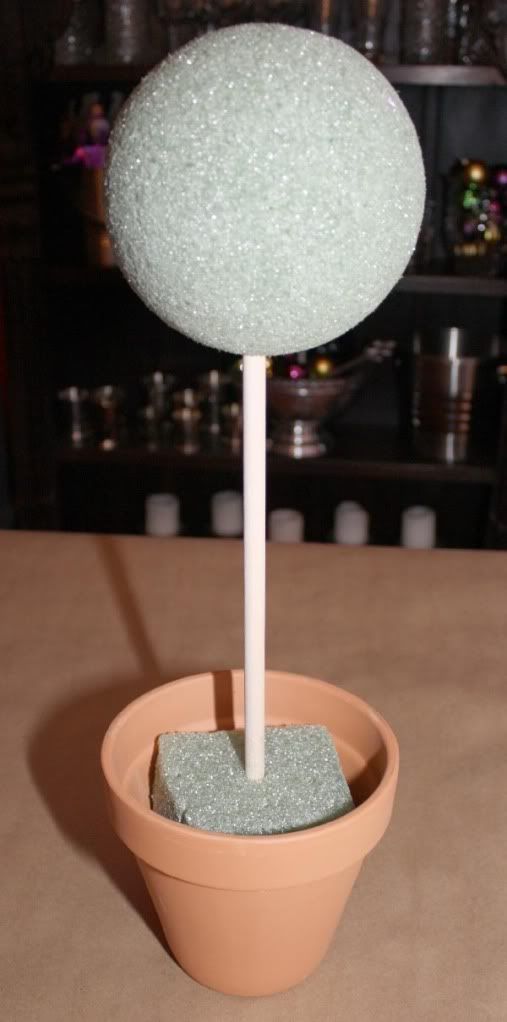
Cut your styrofoam block to fit inside the terracotta pot. Slide the dowel through the block and then into the ball to form the topiary shape.

Photobucket

Step 2:

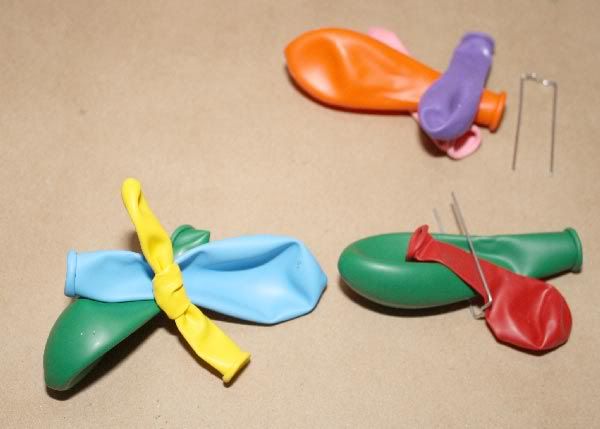
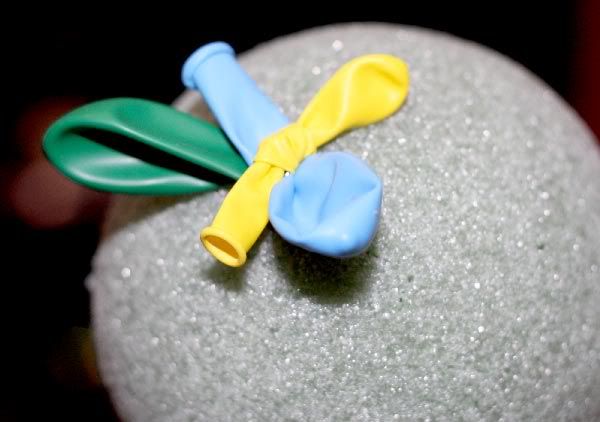
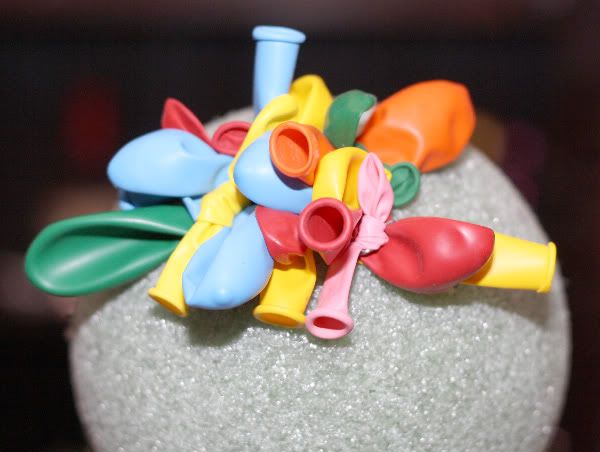
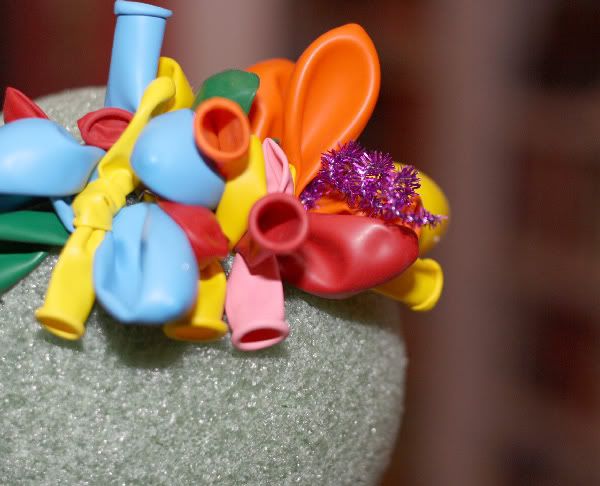
Next it's time to add the balloons to the styrofoam ball. I tied one of the smaller balloons around the greening pin (yellow balloon) to help hide it. Behind the yellow balloon I placed one or two of the larger balloons. Push the greening pin into the ball. Do this over and over until the entire ball is covered in balloons.

Photobucket

Photobucket

Photobucket

Step 3:

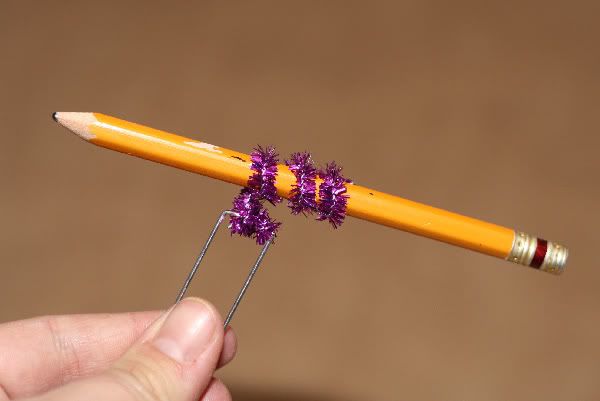
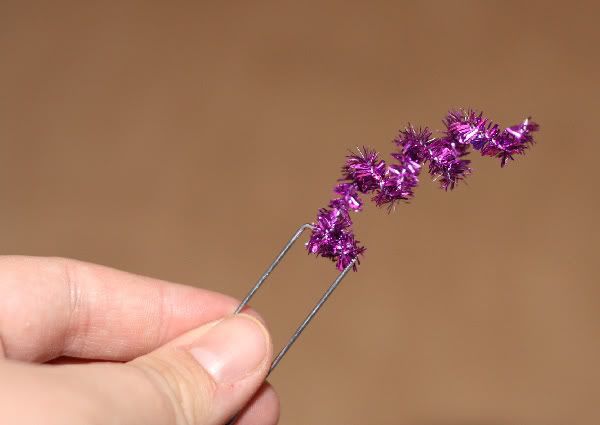
To add extra texture cut the pipe cleaners in half. Wrap one end around the greening pin to hide the edge. Wrap the other end around a pencil or paintbrush. Pull the pipe cleaner off and stretch it out into the coil shape. Add these sparingly around the ball. You can also add balloons behind the pipe cleaner like in step 3. Continue covering the entire ball with balloons and pipe cleaners.

Photobucket

Photobucket

Photobucket

Photobucket

Step 4:

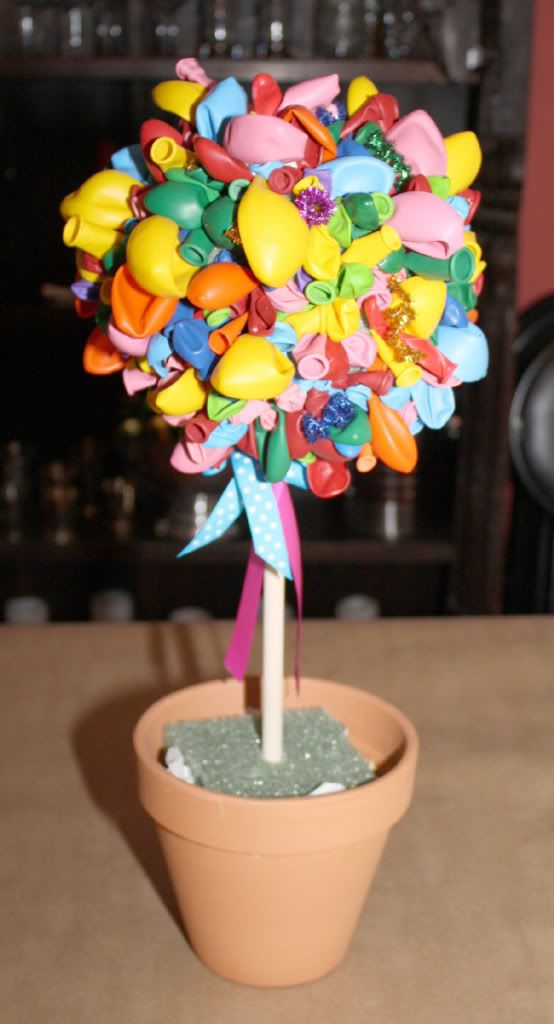
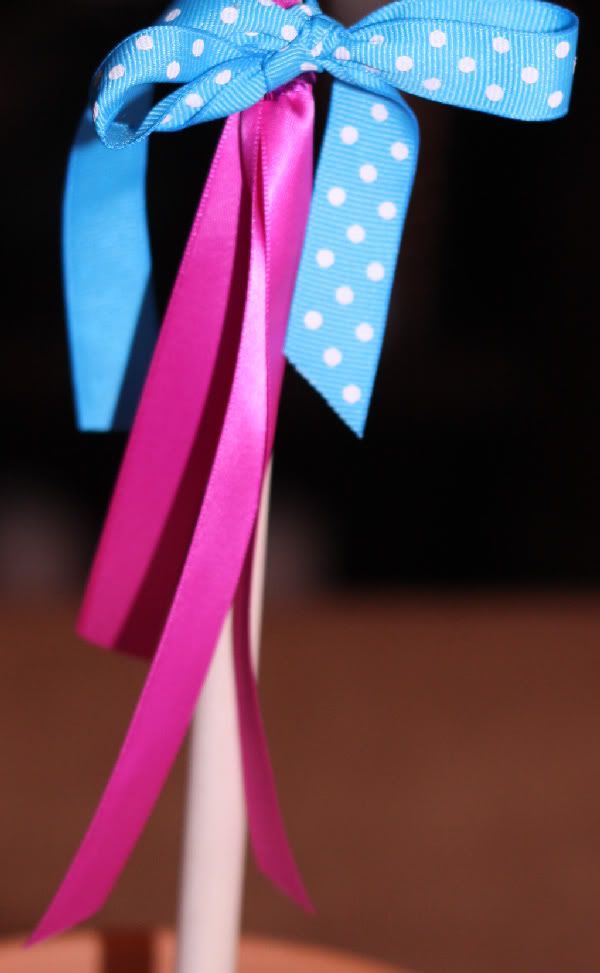
For added decoration tie some ribbon around the dowel at the base of the styrofoam ball.

Photobucket

Step 5:

To cover your styrofoam block add the shredded tissue on top of it and around the dowel.

Photobucket

Congratulations, you are done! These topiaries make great additions to any table because you can change them up by using different colored balloons to match a theme or holiday, paint the dowel and use interesting ribbons or changing up the containers. You can also just make the ball and hang them from a chandelier or the ceiling using coordinating ribbon. Have fun!

Photobucket

Thank you Emily for sharing this fantastic tutorial with us!


Monday, February 28, 2011

{Real Parties} An Adorable Art Party

Today I am sharing an adorable art party with you, hosted by Emily Welch of Magnolia Creative! Magnolia Creative is a sponsor of P is for Party and be sure to check back soon to learn more about her great business!
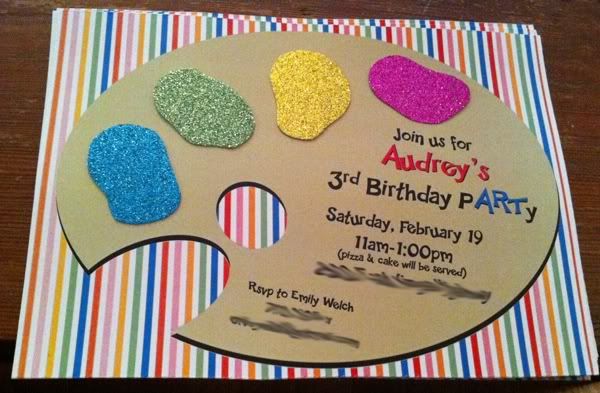
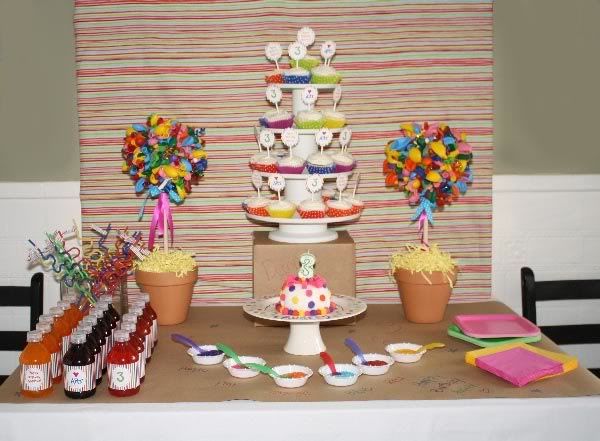
Emily was a little stumped on what theme to choose for her daughter's 3rd birthday and sweet Audrey did not have any idea either. It finally occurred to Emily to base the party around something she and her family are around daily - ceramics (see her designs at Magnolia Creative)! Emily went to Hobby Lobby and found a bright stripe fabric which served as the color inspiration and invitation design.
Photobucket

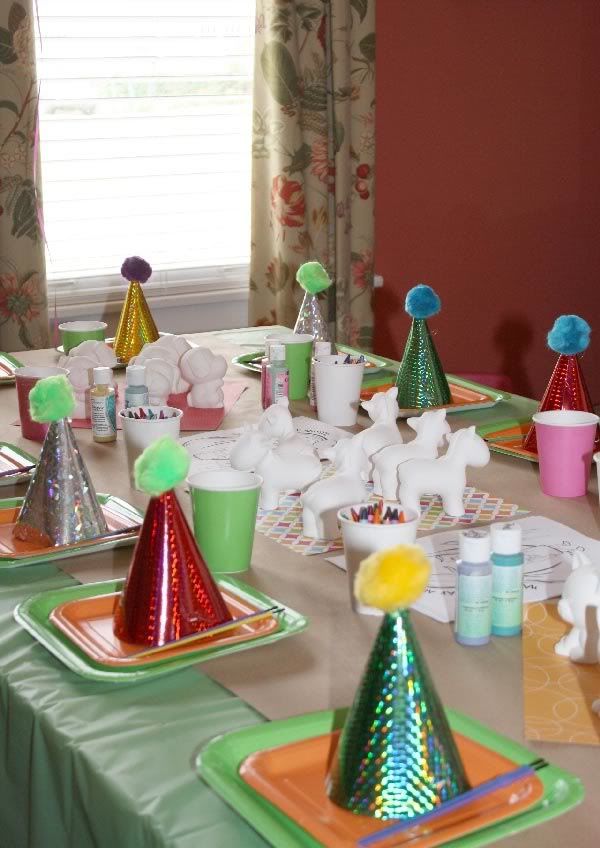
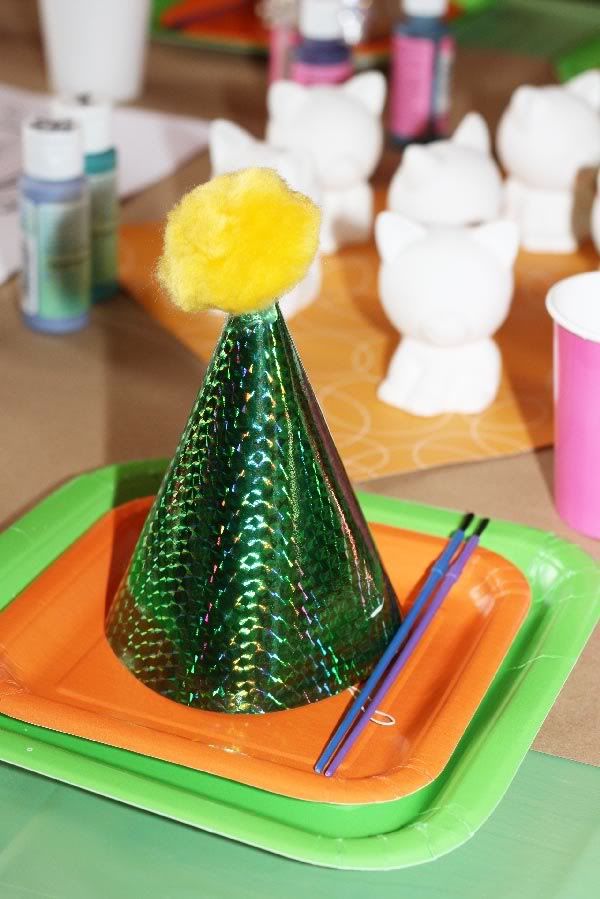
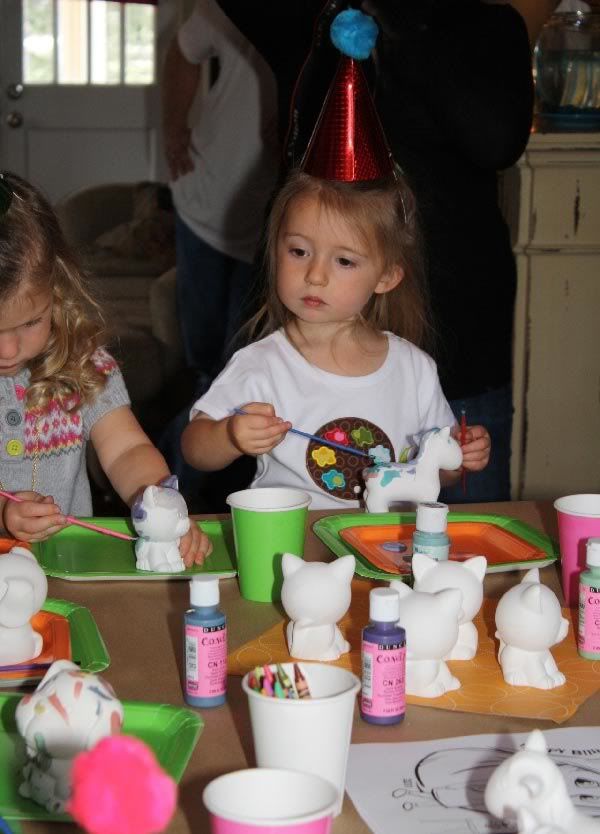
The tables were covered with brown butcher paper to lend to the art them. Each little guest could chose between a cat, dog or horse to paint and then Emily had each piece glazed and fired and then sent to Audrey's school for her friends to pick up.

Photobucket

Photobucket

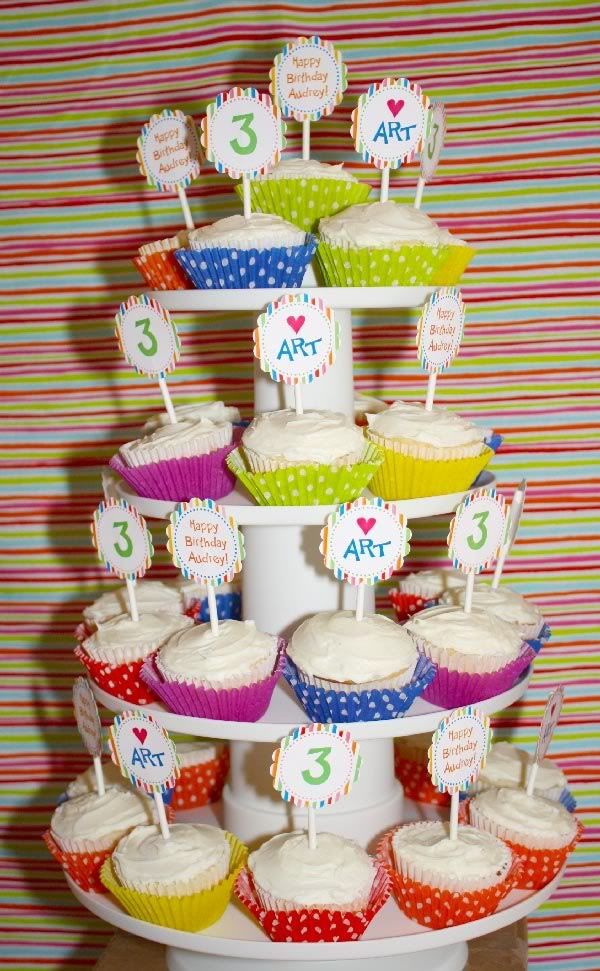
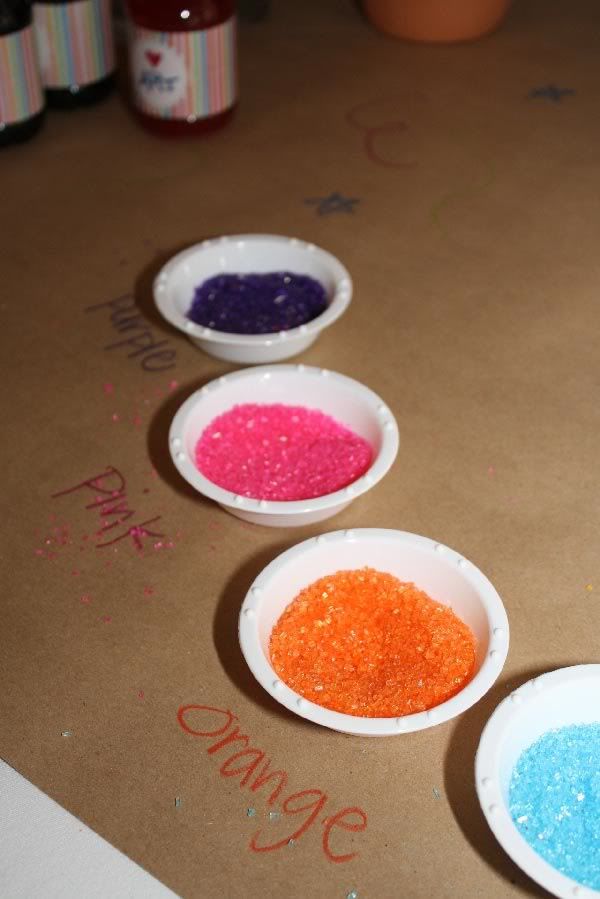
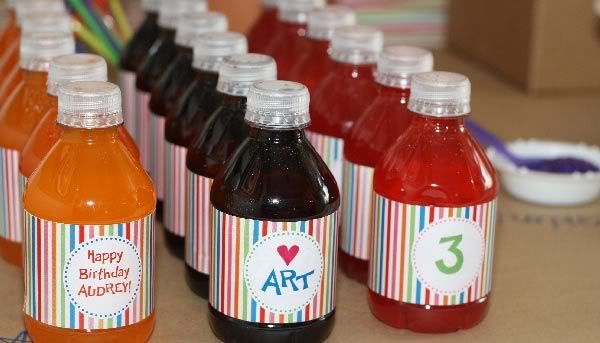
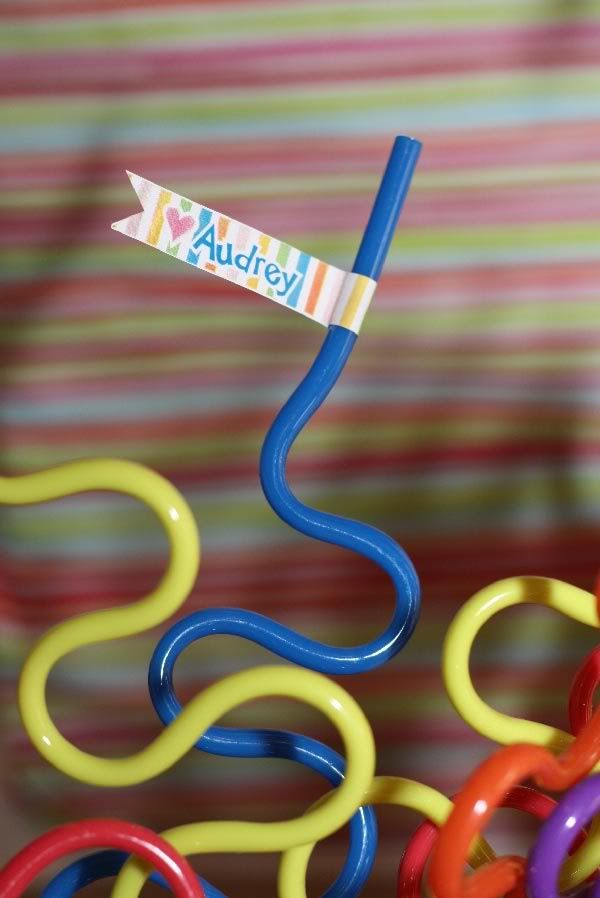
Emily put together a cupcake station equipped with assorted sprinkles. She also custom designed water bottle labels, drink flags and other coordinating products which will be available soon in her shop!

Photobucket

Photobucket

Photobucket

Photobucket

Photobucket

Do you remember seeing the amazing balloon wreath tutorial on How Does She?! Well, Emily gave it a whirl and ended up designing her version...balloon topiaries! Tutorial coming soon!

Photobucket

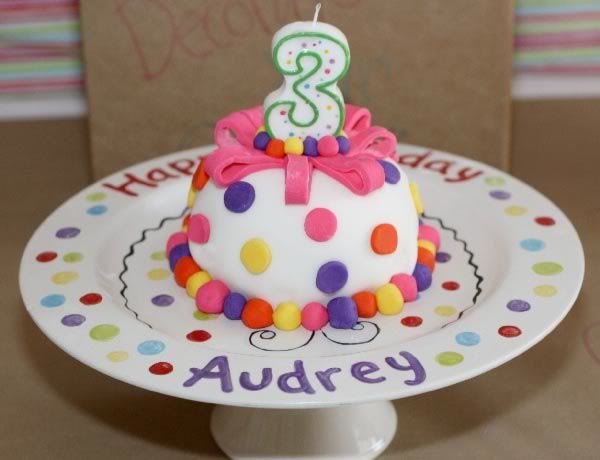
Since Audrey is severely allergic to eggs, Emily needed to bake her daughter's cake and even gave fondant a try! The ceramic birthday plate was also made by Emily and is available in her shop!

Photobucket

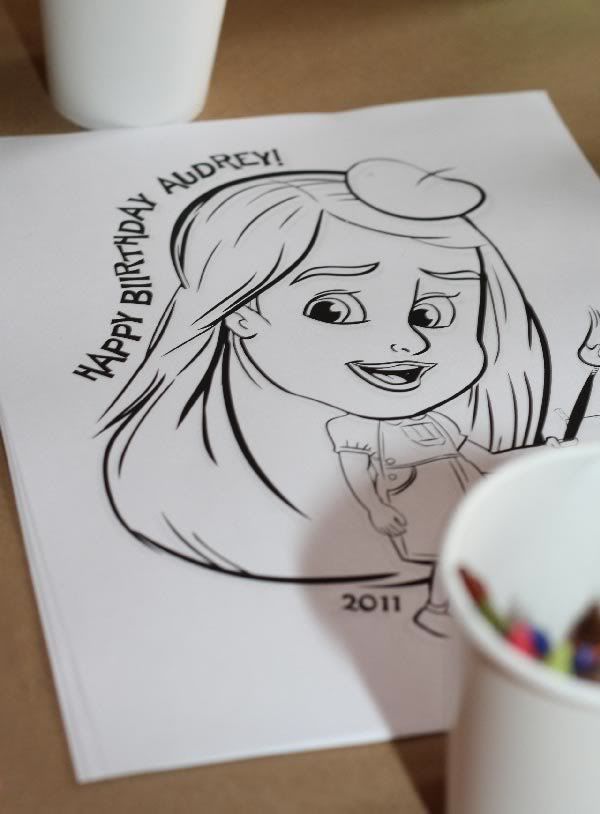
Custom coloring sheets with an illustration of the birthday girl...how special is that?!

Photobucket

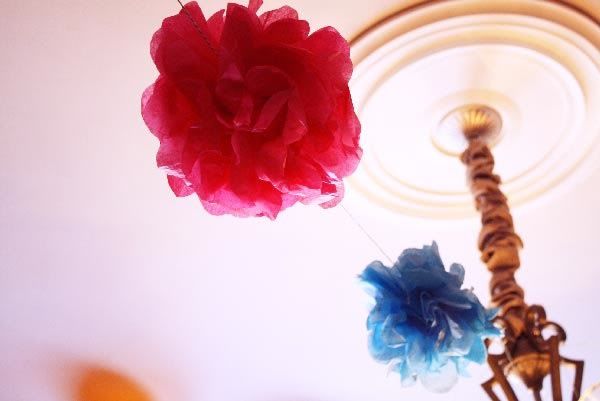
Another personal touch at the party was the handmade tissue garland by Emily. The garland was hung on aqua twine from The Twinery.

Photobucket

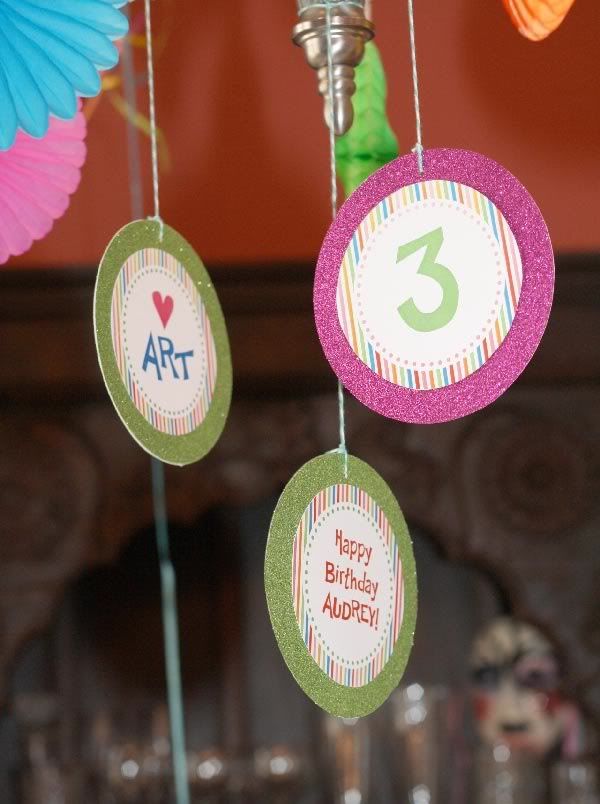
Glittery party circles matched the glitter on the invitations...

Photobucket

The birthday girl painting her ceramic figurine.

Photobucket

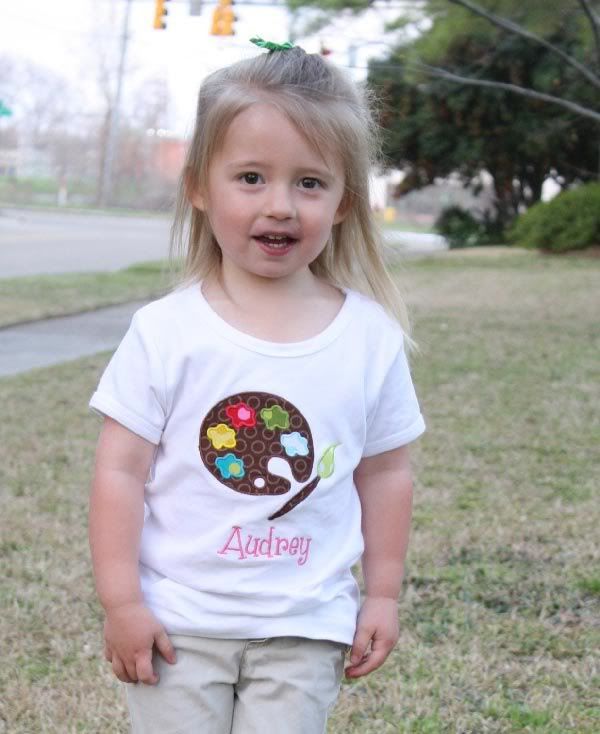
Audrey's custom birthday shirt came from BowDacius Baby.

Photobucket

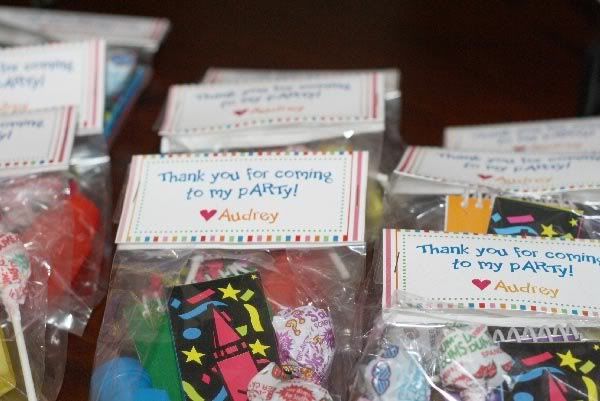
The fun favors included crayons, mini drawing pads, bubbles and suckers and of course a cello topper to match the other paper goodies!

Photobucket

Thank you again Emily for sharing this creative art party with us!